Technical
How to Prevent Adhesive Residue After Oven Cure
Residue is not bad luck — it has exactly four causes. Diagnose which one you have and the fix is usually same-day.
Residue is not bad luck — it has exactly four causes. Diagnose which one you have and the fix is usually same-day.
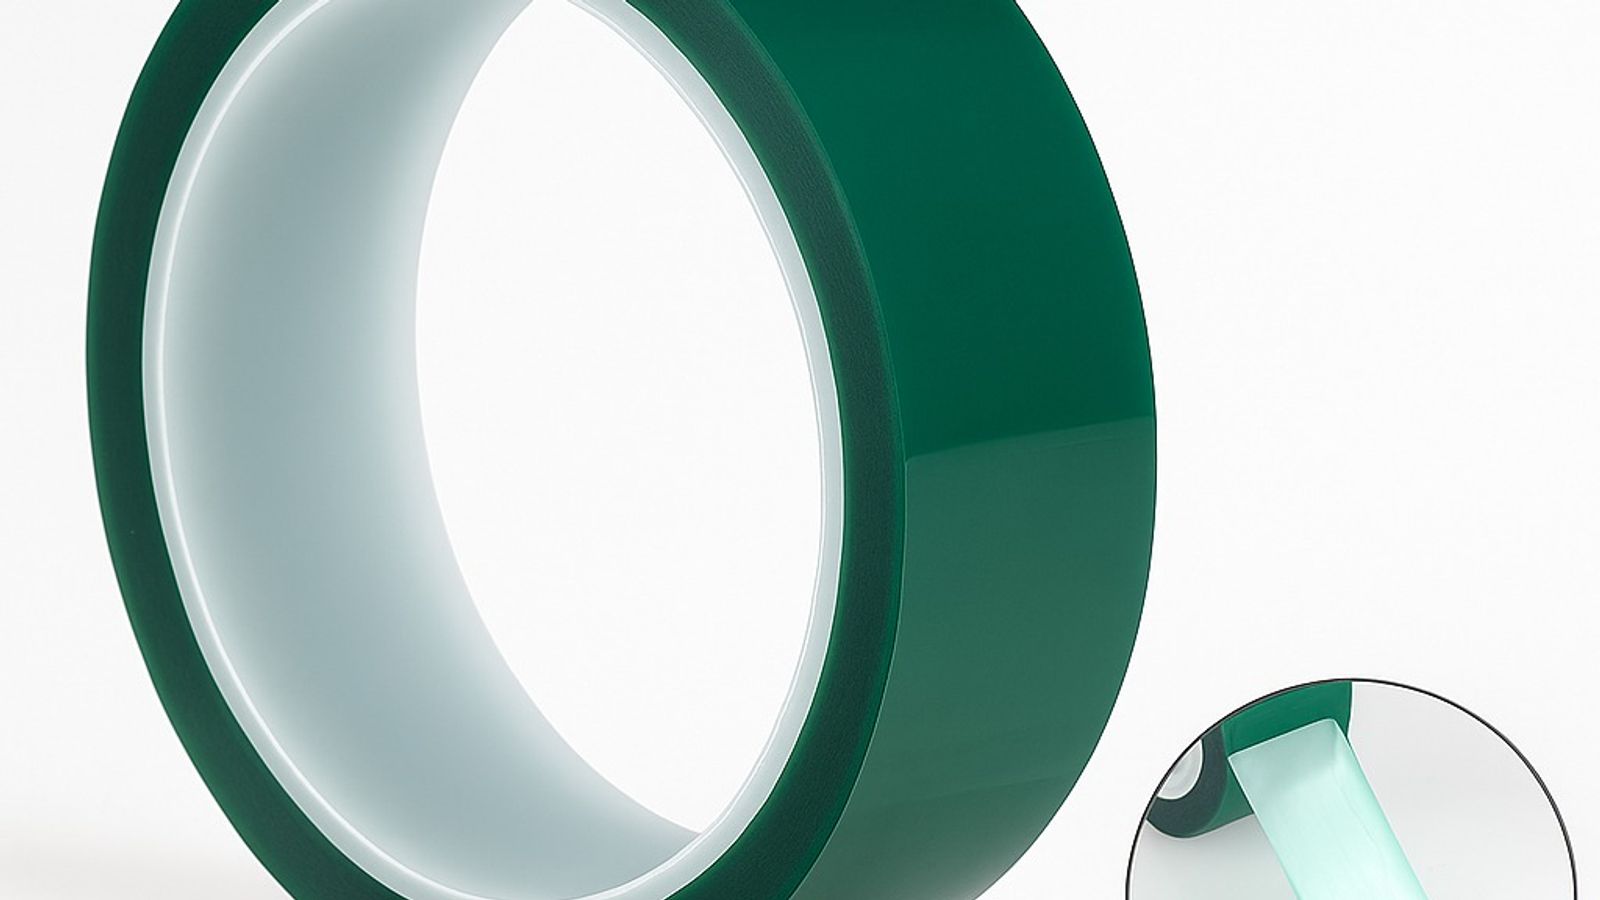
Adhesive residue after cure is the most common masking complaint in finishing — and the most consistently misdiagnosed. Shops blame 'bad tape' and switch brands, when residue has exactly four causes, each with its own fingerprint and its own fix. Work through them in order and you will usually solve it the same day.
Every adhesive has a temperature-time window inside which it peels clean. Push past it — a 204°C tape in a 220°C cure, or a standard cure run long — and the adhesive crosslinks to the surface. The fingerprint: residue across the whole taped area, uniform, on parts that ran hot or long. The fix: verify actual part temperature and dwell, then match the grade to reality — step up to polyimide, or fix the oven recipe if it has drifted from spec.
Rubber-adhesive tapes are excellent at room temperature and terrible in ovens; silicone-adhesive tapes are built for heat. General-purpose tape drifting into oven duty is the classic version of this failure. The fingerprint: heavy, gummy residue even at modest temperatures. The fix is simply specification discipline — silicone-adhesive PET or polyimide for anything that sees a cure cycle, no exceptions on the floor.
Even the right tape leaves traces if it is removed badly. Peeling a stone-cold part after overnight cooling, ripping at 90 degrees, or leaving masks on through multiple cycles all stress the adhesive past its design. The fingerprint: residue at edges and pull-start points rather than across the area. The fix costs nothing: remove masks while parts are warm-to-touch, pull back at a low angle at moderate speed, and never re-run a mask through a second cure.
Oils, mold release, or a previous coating's outgassing can react with any adhesive. The fingerprint: the same tape behaves perfectly on other parts or other lines. The fix: solve the surface — degrease before masking and confirm compatibility when masking over fresh primer or unusual substrates.
When residue does happen, isopropyl alcohol and a plastic scraper handle most cases without attacking the finish; solvent choice matters on fresh coatings, so test a hidden area first. But cleanup is the consolation prize. Diagnose the cause, fix the specification or the technique, and residue stops being a line item in your labour budget.
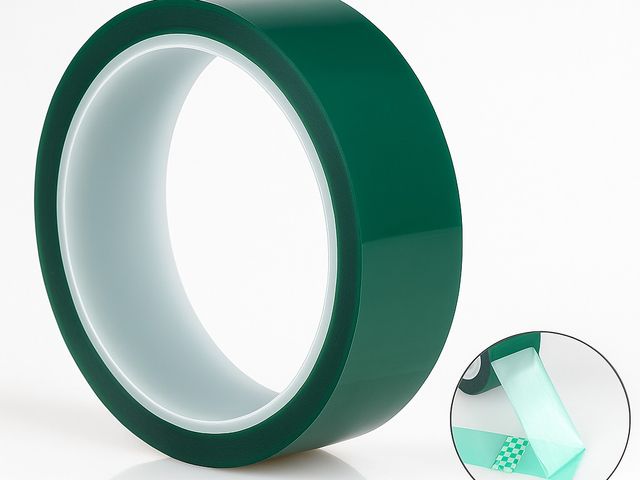
Polyester & PET Masking Tapes
Green PET High Temperature Masking Tape for powder coating and thermal masking work, with dimensional stability and clean edge control.
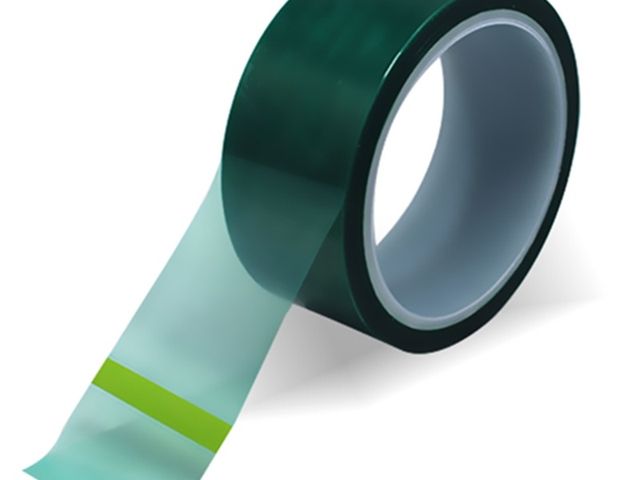
Polyester & PET Masking Tapes
Green Polyester Powder Coating Masking Tape for powder coating and liquid painting work, with clean release and sharp paint edge.
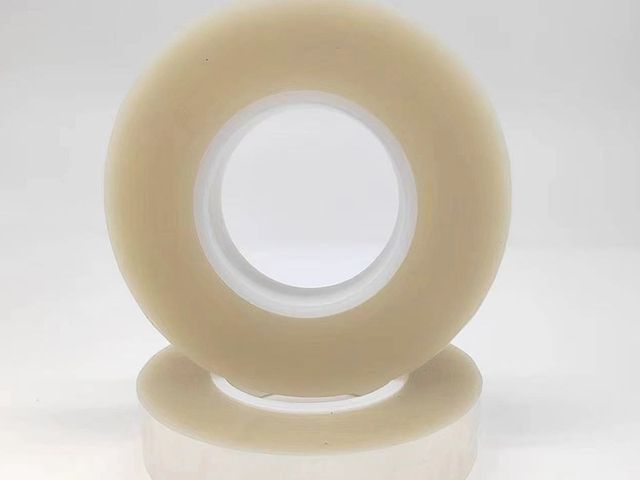
Polyester & PET Masking Tapes
Transparent PET High Temperature Masking Tape for high-temperature masking and process windows work, with transparent carrier and heat…
Send drawings, dimensions, material, environment or operating conditions, and we will help confirm the right specification.
Uploaded reference files are included with the inquiry. For larger CAD packages, reply to the confirmation email or send them here:
Our team typically replies within 24 business hours.