Selection Guide
Custom Masking Kits for Powder Coating: Build a Kit for Your Part Mix
Build a custom masking kit for your powder coating part mix. Cut labor cost per part with reusable silicone plugs, die-cut shapes, and hooks. Get a kit quote.
Build a custom masking kit for your powder coating part mix. Cut labor cost per part with reusable silicone plugs, die-cut shapes, and hooks. Get a kit quote.
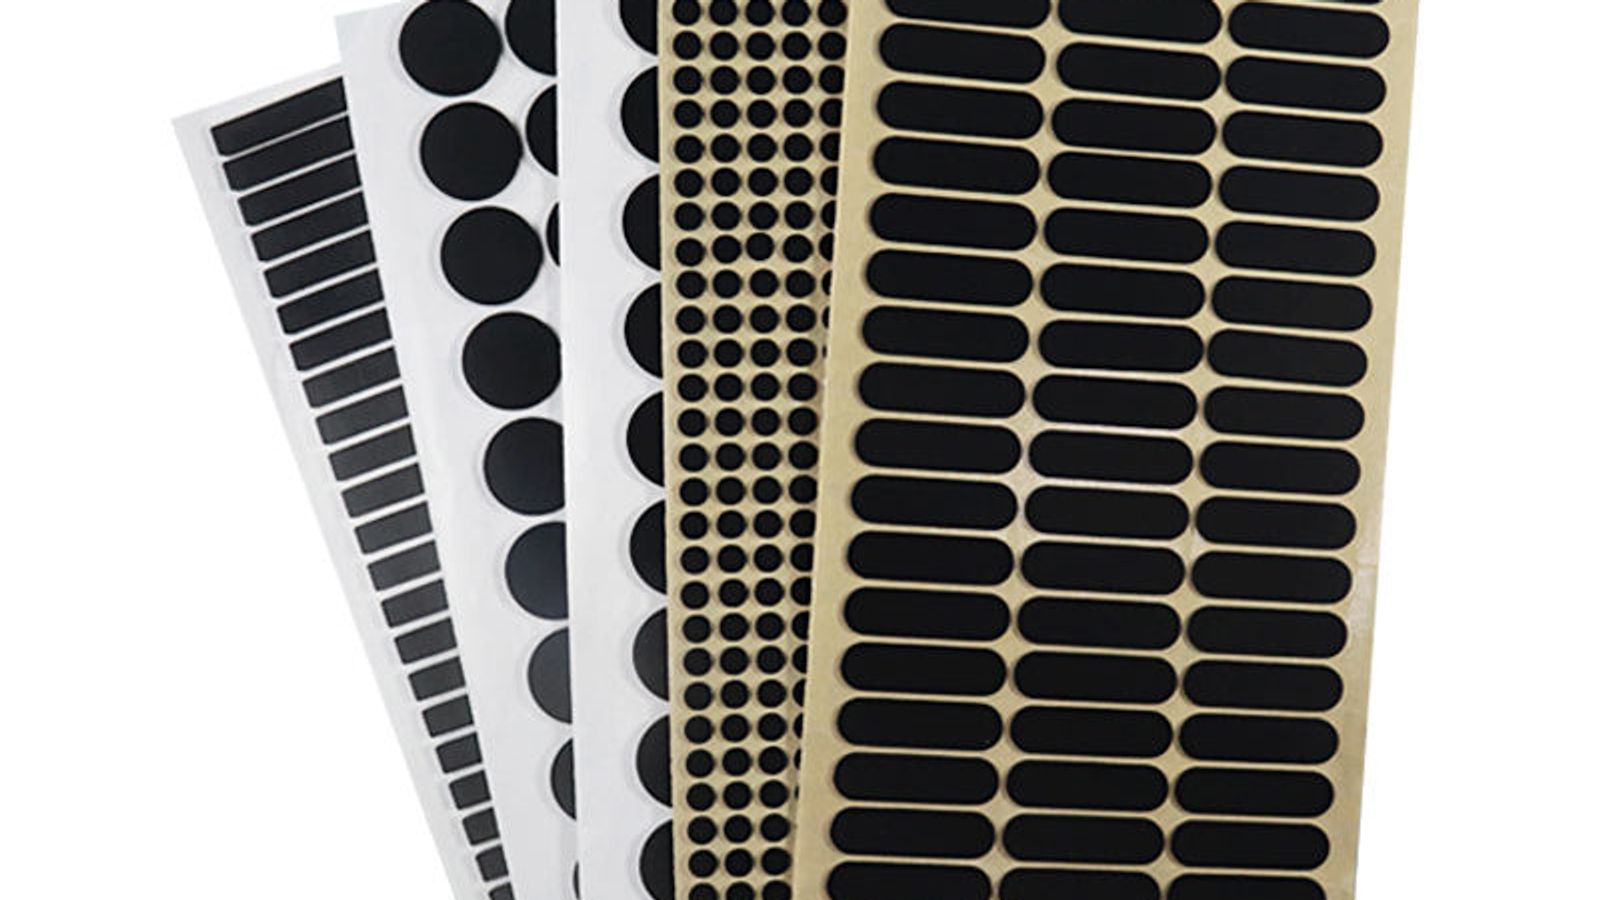
A custom masking kit for powder coating is a pre-selected bundle of reusable masking components — high-temperature silicone plugs and caps, die-cut silicone shapes, coating hooks, and high-temperature tape — chosen to match the actual hole sizes, thread sizes, and surface geometries of one specific part mix. Standard silicone plugs and caps are rated for continuous service at 260°C (500°F), comfortably above the 180–200°C (356–392°F) for 10–20 minutes that most powder cure cycles require, and a quality plug is reusable for 20–50 cycles before replacement. Die-cut silicone shapes add a press-and-cure masking option for slots, grooves, and flat faces that tape covers slowly and inconsistently. Because every item is specified from your own part drawings rather than a generic catalog, the kit turns masking from an improvisation into a repeatable, low-labor standard operation.
Masking is usually the slowest and least consistent step on a powder coating line. It is also the step where the cost hides: not in the tape and plugs themselves, but in the minutes an operator spends cutting, folding, and re-seating material part after part. In most shops masking labor runs several times the cost of the masking consumables, and when masking is improvised, every part can be masked slightly differently — which shows up later as bleed, powder pull-back, or rejects that get stripped and re-run.
Standardizing on a kit built for your part mix fixes both problems. Operators stop making daily decisions about what to use and start following a documented plan: this plug for this hole, this die-cut for this slot, this hook for this hanger point. Training time drops because the kit is the instruction. Consistency rises because the same tool does the same job the same way every cycle. And because the components are sized to your parts up front, there is no trimming, no improvising, and no reaching for a roll of tape to solve a problem the kit was designed to prevent.
This is why job shops, anodizers, and coating lines that run recurring parts — powder coating brackets, fittings, housings, and racks — are shifting from bulk tape and a box of mixed plugs to a custom masking kit that matches their actual production.
A custom kit is only as good as the inventory it is built from. Before you order anything, spend a few hours surveying what actually runs through your line. You do not need to kit your entire catalog — you need to kit the part families that make up most of your volume and most of your masking pain.
Pull your last 90 days of production and rank parts by volume and by masking time. In most shops, a handful of part families drives the majority of masking labor. Start the kit around those. One-part, low-volume jobs can keep using off-the-shelf components; the kit is for the work that recurs every week.
For each high-volume part family, record the specific features that must stay bare:
The same feature can deserve very different treatment depending on volume. A blind M6 hole that appears on 4,000 parts a month justifies a dedicated plug in the kit. The same hole on a prototype run of 40 parts probably does not. Score each feature by (frequency × minutes to mask it by hand), and kit the features at the top of the list first. This is the exercise that makes the kit's cost-per-part math work.
The economics of a custom kit come almost entirely from labor, not from the price of the components.
A threaded hole masked with tape typically takes 45–90 seconds of an operator's time — cut a piece, fold it, press it in, smooth the edges, and later pick it out after cure. At a loaded shop rate of $0.50/minute, that single hole costs $0.37–$0.75 in labor every time it is masked. A correctly sized silicone plug seats in about 2 seconds — roughly $0.02 of labor. The difference is not a rounding error; it is a 20–40× reduction in the labor applied to that feature, and it compounds across every hole, slot, and flange on every part that runs.
The components themselves amortize so cheaply that they are almost noise. A silicone plug that costs $0.30 and survives 30 cycles contributes $0.01 of cost per use. Die-cut silicone shapes, rated for the same 260°C service, spread their one-time cost across hundreds or thousands of cycles. Even if the kit costs $750 and the parts it serves are only moderately complex, the labor savings usually repay the kit in a few weeks of production. For a deeper look at the reuse math, this breakdown of reusable silicone cost per cycle walks through the numbers cycle by cycle.
There are three ways to source masking for a job: buy a custom kit, buy off-the-shelf components, or make it by hand on the line. They are not competitors so much as stages — most shops use all three, and the skill is knowing which job each one should serve.
Custom kit. Highest upfront engineering and cost, lowest labor per part, highest consistency. The kit is a managed asset: one list, one storage location, one refresh cadence. It wins on anything that recurs.
Off-the-shelf components. You buy standard plugs, caps, and tape as needed, picking sizes per job. There is no lead time and no design work, but every job is a small procurement exercise, and size mismatches force operators to improvise — trimming tape, double-stacking caps, or leaving a hole partially exposed. It is the right tool for low-volume, mixed, or one-off work.
DIY in-house masking. Cutting your own tape, folding aluminum foil, or using shop-made plugs. Lowest cash outlay, highest labor cost, and the most variation. It is fine for emergencies, but it is almost never cheap once you actually meter the minutes.
The trade-off table below summarizes where each approach stands.
For flat surfaces, slots, and grooves, die-cut silicone shapes are quietly replacing hand-applied tape, and the reason is repeatability. A high-temperature silicone die-cut masking shape is cut to your drawing: the same outline, the same thickness, the same edge every single time. An operator presses it into place in seconds. Hand-applied tape, by contrast, requires an operator to cut, position, and smooth the material fresh on every part — and two operators will rarely produce identical results.
The geometry matters too. Die-cuts handle curves, radii, and irregular perimeters that are miserable to reproduce with straight tape cuts. They can also be produced as a combined die-cut-plus-plug configuration that masks a hole and its surrounding shoulder in one piece, removing a whole step from the cycle.
The trade-off is flexibility. Tape can be torn to any size on the spot, so it adapts to whatever walks into the booth. Die-cuts are fixed shapes — which is precisely their strength on recurring parts and their weakness on anything new. For large open areas, pre-taped masking film remains the fastest option, since it combines the coverage of film with the edge definition of tape without the per-part cutting.
A silicone plug is not a permanent asset. It survives 20–50 cycles — sometimes more at cooler cure temperatures and with careful handling, fewer if parts are abrasive or plugs are forced into undersized holes. The practical question is not "how many cycles will it last" but "how do I know when to replace it."
Build a simple inspection routine into the line. When plugs come out of the oven, they are handled for a few seconds anyway; that is the moment to check them. Look for soot or charring on the surface, hardening, cracks at the base, or a seat that no longer feels snug. The two failure modes that cost money are (1) a plug that lets powder bleed under it, and (2) a plug that leaves residue or discoloration on the part. Either one justifies immediate replacement.
Stock about 10–15% spares of your most-used sizes, and schedule a full kit audit — count, sort, replace — on a fixed cadence such as monthly or every 2,000 parts, whichever comes first. Because every component in the kit is a known part number from your kit list, reordering is a single list rather than a scavenger hunt. This is where a standard custom masking kit pays off operationally: the kit is documented, so refresh is administrative instead of improvised.
Let's put real numbers on it. Suppose you run an aluminum bracket that needs six threaded holes and one slot masked, at 5,000 parts per year.
DIY tape masking, per part:
Custom kit masking, per part:
Saving: $0.91 per part. Across 5,000 parts, that is roughly $4,550 per year.
Now compare that to the kit's cost. A well-specified kit for this part family — plugs in the three relevant thread sizes, one die-cut set, and hooks — runs about $750. At $0.91 saved per part, the kit pays for itself at roughly 825 parts, which at most production volumes is the first few weeks. Everything after that is margin.
The numbers change with your part mix, but the shape of the math does not: the labor term dominates, and the amortized tooling term shrinks with volume. If you want to see the formula applied to your own line, request a kit quotation with your part list and we will model the cost-per-part for your specific volumes and cure cycles.
| Factor | Custom Kit | Off-the-Shelf Masking | DIY In-House Masking |
|---|---|---|---|
| Fit to part mix | Sized to your actual holes; threads; and surfaces | Generic sizes; frequent mismatches | Improvised per part; depends on the operator |
| Initial investment | $300–$1;500+ one-time | Low per item; repeated re-buying | Near zero cash; high hidden labor |
| Labor per part | Lowest; components seat in seconds | Moderate; fiddly fits and trimming | Highest; typically 3–5× a kit |
| Consistency | High; identical every cycle | Medium; size gaps force workarounds | Low; varies by operator and shift |
| Reusability | 20–50 cycles per plug and cap | Varies; tape is single-use | Mostly single-use; offcuts short-lived |
| Lead time | 1–2 weeks for the first kit | Immediate | None |
| Inventory burden | One documented kit to manage | Many small SKUs to stock | Scrap bins of partial rolls |
| Best when | Recurring parts; high volume; paid-by-the-part | First orders; low volume; varied parts | Emergency or very low volume |
A custom kit is the right call when three things are true: your part mix recurs, your features are specific, and masking labor is a measurable line item. If a part family runs weekly, has threaded holes or defined flats, and your operators spend more than a minute masking each piece, a kit will pay for itself quickly. The same logic applies across anodizing and plating lines and to automotive refinishing and OEM painting, where identical parts cycle in high volumes and every second of masking is multiplied by large batch counts.
Stick with off-the-shelf components when the work is genuinely heterogeneous — a steady stream of different one-off parts, R&D runs, or low-volume jobs where a kitted size would sit unused. You still benefit from standardizing the types of components you stock (plugs, caps, die-cuts, hooks), even if the specific sizes vary per job.
A common middle path: build a small kit around your top two or three part families now, keep off-the-shelf coverage for the tail of your catalog, and expand the kit as recurring volume grows. Kits are not all-or-nothing; they are a tool for the 20% of your parts that create 80% of your masking cost.
A standard silicone plug rated for 260°C continuous service typically survives 20–50 cure cycles at the 180–200°C for 10–20 minutes that most powder coatings require. Actual life depends on cure temperature, how roughly the plugs are inserted and removed, and whether they are cleaned between uses. Replace a plug when it no longer seats snugly, shows cracks or charring, or lets powder bleed under the seal.
Standard silicone plugs, caps, and die-cut shapes are rated for 260°C (500°F) continuous service, with headroom above typical powder cure cycles of 180–200°C for 10–20 minutes. High-temperature tapes and films used in the same kits are selected to match that envelope. If you run cure profiles above 260°C, or very low-bake cycles, tell your supplier before the kit is specified so the materials can be adjusted.
There is no hard threshold, but the math usually works once a part family recurs in volumes where the labor saving crosses the kit cost. As a rule of thumb, if a part family represents a few thousand masked features per year and each feature takes close to a minute to mask by hand, the kit typically pays for itself within the first few weeks. The cost-per-cycle breakdown is a good reference for running your own numbers.
Yes. A complete kit covers the full masking station, including racking: snap hooks for quick part changeover, general powder coating hooks for everyday racking, and spring hooks for continuous coating lines. Including hooks in the same kit ensures hanger points and mask locations are planned together, so the two systems don't conflict.
Send your part drawings or a parts list with the features that need masking: hole diameters and types, thread sizes, surface areas, protrusions, and hanger points, plus your cure temperature and time and approximate annual volumes. From that list, we size the plugs, caps, and die-cut shapes, estimate reusability at your cure profile, and return a kit specification with cost-per-part figures you can verify against your own labor rates.
If masking labor is a line item you can measure, a custom kit sized to your part mix is one of the fastest cost reductions available on a coating line. Send us your part list — hole sizes, thread sizes, surface features, cure profile, and volumes — and we will build a kit specification with the right plugs, caps, die-cut shapes, and hooks, along with cost-per-part numbers you can check against your own rates. Request your kit quotation today and see what your masking step actually costs per part once it stops being improvised.
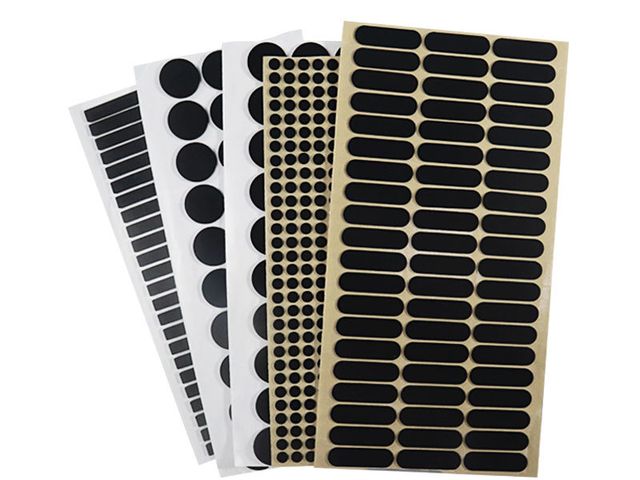
Custom Masking Kits
Combination kit pairing die-cut shapes with matched silicone plugs.
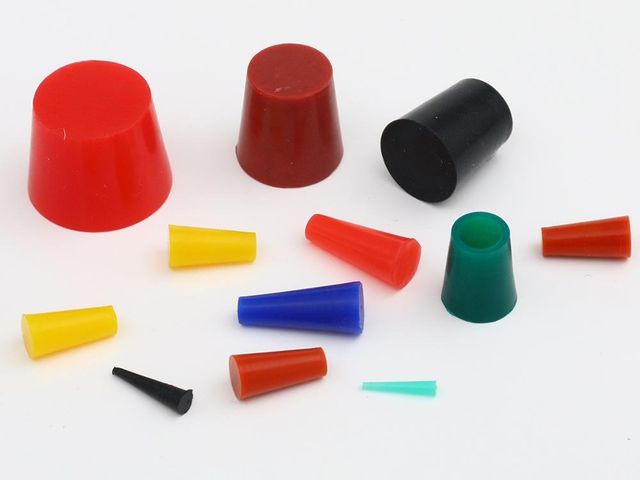
Custom Masking Kits
Templated multi-component kit matched to your part drawing.
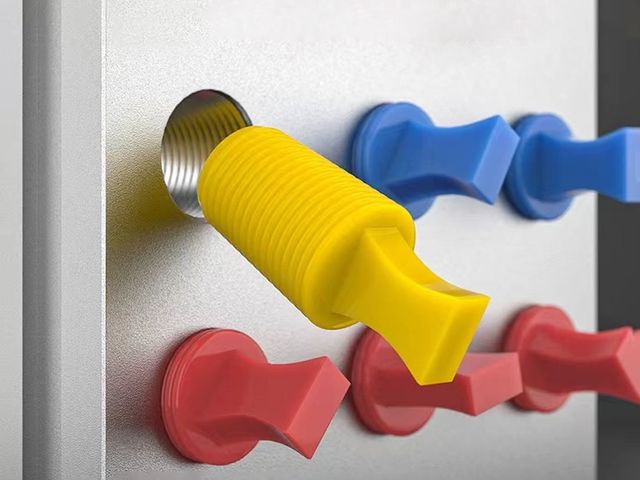
Silicone Masking Plugs
High-Temperature Silicone Masking Plug for Powder coating lines - send your drawing for a matched quote.
Send drawings, dimensions, material, environment or operating conditions, and we will help confirm the right specification.
Uploaded reference files are included with the inquiry. For larger CAD packages, reply to the confirmation email or send them here:
Our team typically replies within 24 business hours.